One of the very first things you’ll learn on your first driving lesson is the cockpit drill. Once you’ve got the hang of it, your cockpit drill won’t take more than a minute or so, but getting to grips with it for the first time can easily take up a good chunk of your first lesson.
Give yourself a head-start by reading our guide (and trying not to laugh at the phrase ‘cockpit drill’). Making sure you have a solid understanding of the cockpit drill before you start driving lessons is a good way to make sure that you get to spend as much time as possible driving, rather than learning about mirror adjustments and how to position your seat.
Cockpit drill step 1 – Remember ‘DSSSM’
There are five basic parts to the cockpit drill: doors, seat, steering, seatbelt and mirrors. Some driving instructors abbreviate this to ‘DSSSM’ to make it easier to remember. If you struggle to remember DSSSM, make up a little phrase to help.
Cockpit drill step 2 – Doors

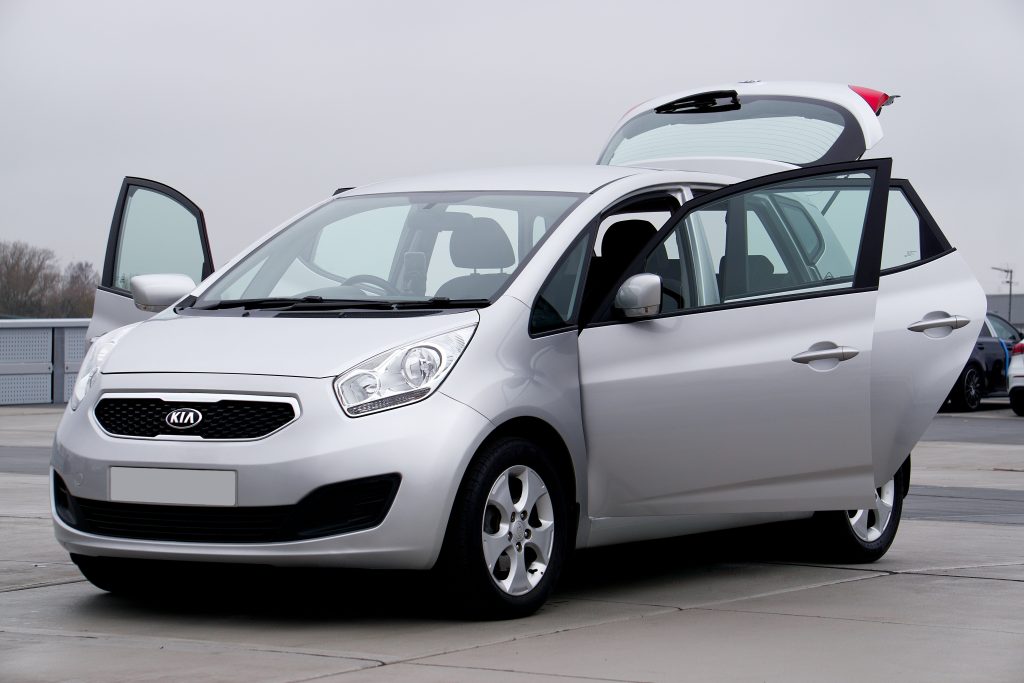
Check that all your doors are closed. It’s simple advice, but you don’t want the doors to come flapping open in the middle of a driving lesson. That would look ridiculous.
Checking the drivers’ side door is easy; just give it a firm tug. If it doesn’t move, then it’s closed. If it does move, check around you for pedestrians or cyclists and, if the way is clear, open the door and close it with a firm pull. Don’t slam, your instructor won’t thank you for slamming their doors.
The passenger doors simply require you to check your side mirrors. If the doors aren’t closed properly they will obviously not be in line with the rest of the vehicle. If you can see that any passenger door isn’t closed, simply ask your passenger/instructor/examiner to close it or safely exit the vehicle and close them yourself.
You can also use the light that most modern vehicles use to indicate that a door has been left open.
Cockpit drill step 3 – Seat
The seat will need to be adjusted to allow you to easily and comfortably control the vehicle. Finding the ideal position for you is just a matter of depressing the clutch with your left foot and moving the seat forwards/back until you have a slight bend in your left leg.
Most cars have a lever or handle underneath the seat to allow you to adjust the position. If you can’t find it, just ask your instructor.
Cockpit drill step 4 – Steering wheel

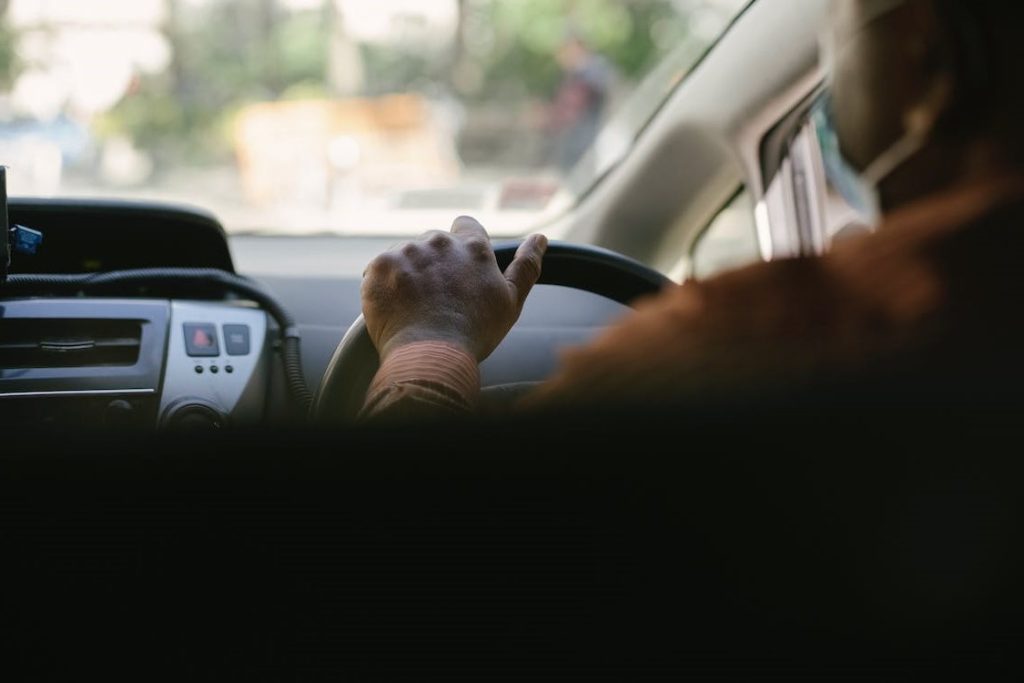
Now you’ve got your seat in position to give you control of the pedals, you need to make a few adjustments to make sure that you’ve got the steering wheel under control. Place one hand at the 12’o’clock position at the top of the steering wheel and use the seat controls (usually found low down on the right hand side of your seat) to move the backrest of your seat around until there is a slight bend in the arm that’s resting on the steering wheel.
Cockpit drill step 5 – Seatbelts
You have to wear your seatbelt; it’s the law. Put it on and make sure there are no twists in it. As the driver of the vehicle, you’re also obliged to ensure that anyone travelling in the vehicle who is under 14 years old is wearing theirs.
The only time you’re legally allowed to drive without a seatbelt is when you’re reversing. This is because the belt can make proper observations difficult when reversing. This applies during your driving lessons and driving test, but make sure that you remember to put it back on when you move off.
Cockpit drill step 6 – Mirrors

You’re almost ready to go, just the mirrors left to sort out.
You need to adjust your mirrors to give you as clear a view as possible of the road behind you. If your instructor uses extra mirrors, you don’t need to fiddle with those. All you need to worry about are the side/door mirrors and the rear view mirror stuck in the centre of the windscreen.
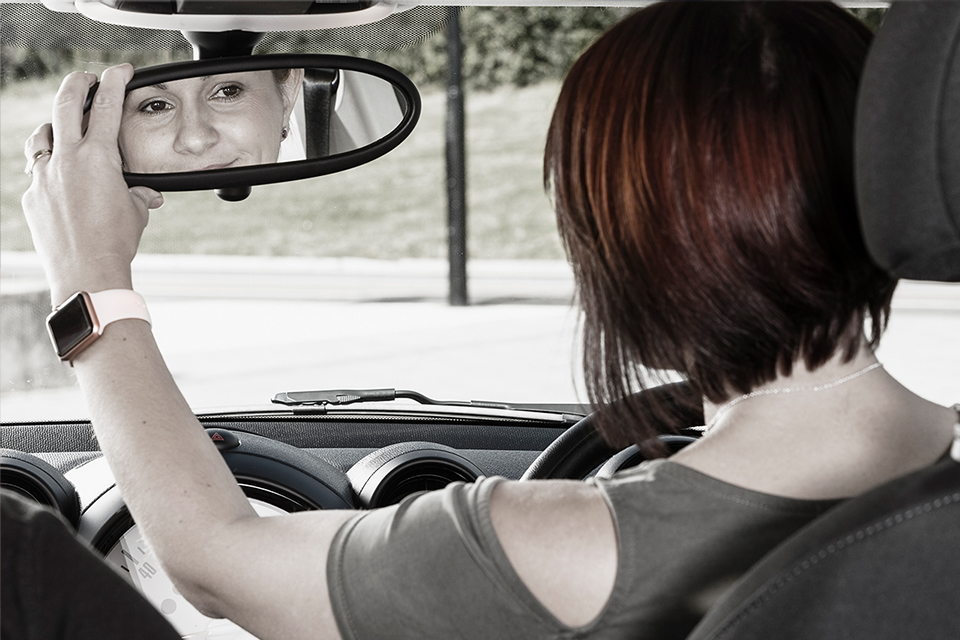
The interior mirror is easy to position; just settle into your driving position and gently move the rear view mirror around to give you as good a view out of the back window as possible. Remember not to lean into the centre of the car when adjusting the mirror, or the positioning will be all wrong when you settle back into the driving seat.
The side mirrors are a little trickier, but not by much. Stay in your driving position and use whatever controls your vehicle has (some are electric, some are manual) to move the side mirrors until the horizon sits in the middle of the mirror and a small sliver of the side of your vehicle shows in each mirror.
