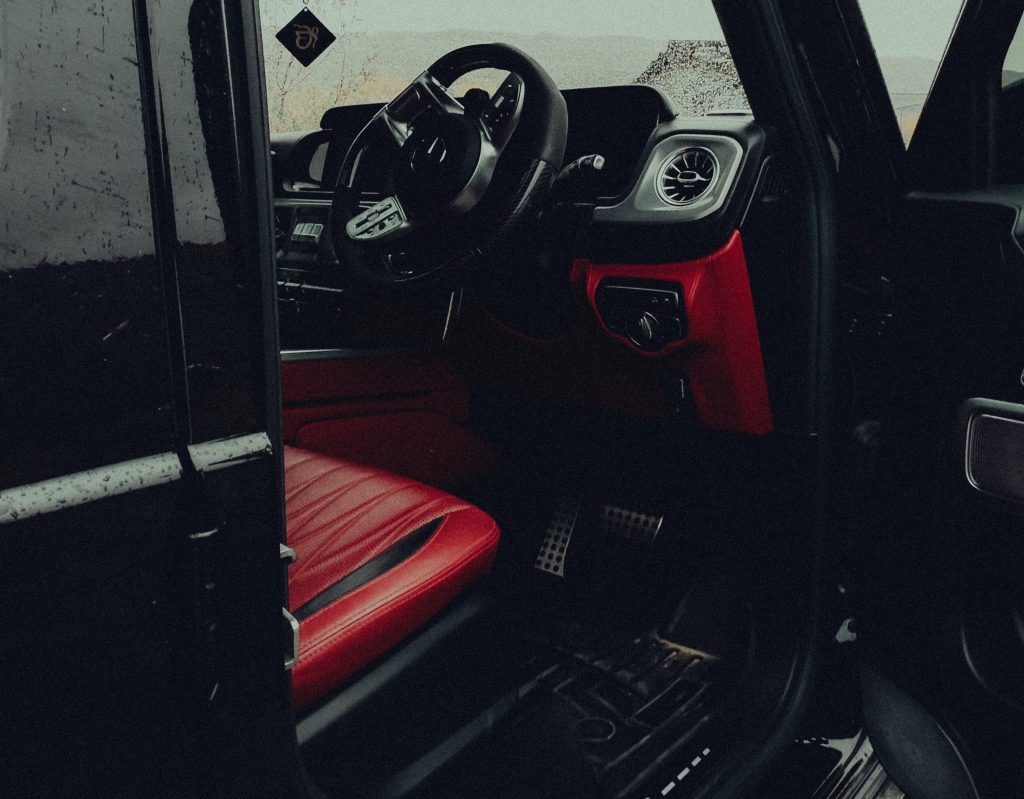
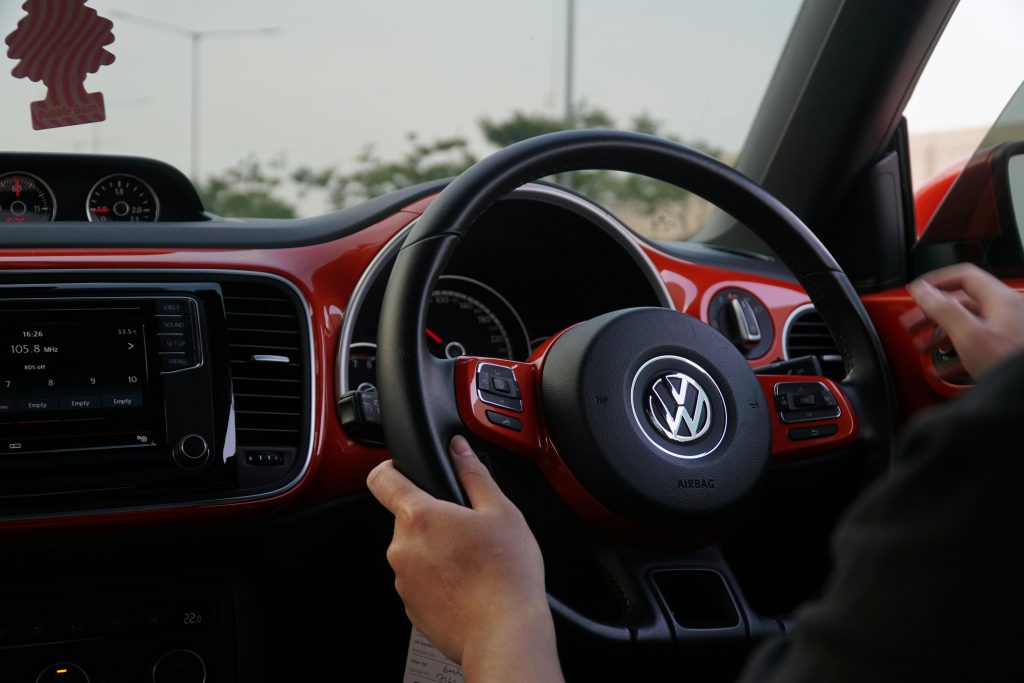
Hitting the accelerator, turning the wheel and knowing how to brake are all key to making a vehicle move. That’s why the primary controls are the pedals and steering wheel. But there are loads more cockpit controls to get your head around as well.
For your theory test, you need to know what each control does, and in which situations it should be used. Your practical test, on the other hand, will rely on you demonstrating correct use of the cockpit controls and answering any related questions your examiner throws at you. Our guide will take you through the key car controls you’ll be expected to know, their purpose and how to operate them. Here goes!
Car pedals

While the steering wheel placement in the UK (on the right) differs from vehicles in countries whose road users drive on the right, the car pedals remain in the same order worldwide. This is particularly useful if you’re planning on driving abroad, or looking to convert a foreign driving licence to a UK one.
Car pedals in a manual
There are a total of 3 foot pedals in manual cars: from left to right, clutch, brake, accelerator (it’s just ABC backwards if you’re struggling to remember them).
Clutch
The left-hand pedal is your clutch. When pressed all the way to the floor, it disengages the engine from the wheels, which allows you to both change gears and come to a stop without killing the engine (stalling). It’s a handy bit of kit!
You need to exercise good levels of clutch control on your driving test. The examiner will be checking that you can perform the following skills smoothly and without stalling:
– Move off
– Stop
– Change gears
– Maintain low speeds (for example in stop/start traffic)
As it’s on the left side, it makes absolute sense that your left foot operates the clutch. You need to be able to press it right the way down and release it partially to find your biting point.
When not using your clutch, give your foot a break by taking it off the pedal. There may even be a handy little area off to the side that’s designed to be used as a footrest.
Brake
The middle brake pedal slows you down and can bring you to a stop either gradually (preferably), or, in an emergency situation, as quickly as possible. It’s linked to your brake lights—and you may have to explain to your driving examiner how to check if they’re fully functioning.
Control the brake with your right foot. Practice easing off it just before you come to a standstill so that your passengers get a smoother ride.
Accelerator
The pedal on the far right is the one that gets the vehicle going. It’s called the accelerator, and you can use it to move off, go faster, keep your speed constant or slow down.
To find your biting point (at which your car will start to move), apply gentle pressure to the accelerator with your right foot as you release your clutch. Maintain a steady speed by keeping your foot still on the pedal; speed up by pressing down harder; and ease up on the accelerator to slow the car.
When going uphill, you’ll need to accelerate a bit harder to keep your speed.
Car pedals in an automatic
Unlike in manual cars, automatic vehicles only have 2 pedals: the brake on the left and the accelerator on the right. The point of an automatic is that it moves through the gears on its own: one less thing to think about!
With two pedals and two feet, we’re confident you can work out which one goes where. But you’ll still need to practise your timings (when to start braking, for instance), so that you can drive safely and save yourself some fuel.
Steering wheel

The big round thing right in front of the driver’s seat that turns your wheels to alter your direction? Yes, that steering wheel. You’re probably well versed in how to run left and right—but it’s also important to know how to tell if your power steering is working.
There are good techniques and less good techniques for steering—but the general rules are to hold the wheel in a comfortable position, remember that anticlockwise turns you left and clockwise right, and always maintain good control of the vehicle.
Ancillary controls
As we’ve seen, the primary controls in a car are the pedals and steering wheel. Everything else is secondary—or ancillary—and provides important support to those most crucial functions. Ancillary controls are found within the cockpit, so that they are easily accessible as you drive. But as their exact location varies, you should familiarise yourself with the controls in any vehicle before setting off.
They include features that:
Enable communication with other road users:
– Indicators
– Horn
– Hazard lights
Assist with visibility:
– Lights
– Windscreen wipers
– Demisters
And facilitate your own safety and comfort:
– Heater
– Air con
– Handbrake
On your practical test, you’ve got to be able to show the examiner that you can operate ancillary controls at appropriate times, while remaining in control of the vehicle. They may also ask you to demonstrate how to use a specific control, or explain how you would go about doing so, during the ‘show me / tell me’ section of the test.
Indicators

Safety on the roads relies on an awareness of other people’s intentions. And one of the most valuable tools for communicating your plan of action is your indicators. They allow you to signal that you’re pulling up or moving off, which direction you want to turn at a junction, or that you wish to change lanes. All this information can be used by others to determine whether they should adapt their own position or speed.
There are several things to consider when deciding when or whether to indicate, such as your timing, whether your indicators could be misleading, and what other road users are around. Your driving examiner will assess whether you can follow the hard and fast signalling rules—but also whether you’re able to apply sensible judgement in grey areas.
You’ll usually find indicators on one of the stalks to the side of your steering wheel, and are easy to control: generally a flick of a finger up or down, depending on whether you want to signal right or left will do it. Cancel the indicator by moving the stalk back to its neutral position.
Vehicles tend to emit an intermittent sound when your indicators are in use. This and the flashing arrow on your dashboard act as prompts, reminding you to cancel your indicator once you’ve completed the manoeuvre.
Remember to follow the mirror-signal-manoeuvre routine when taking any action involving your indicators.
Hazard warning lights
When on, your left and right indicators will both flash in unison, alerting other drivers to a particular hazard. Common scenarios include times when a queue of traffic requires you to slow down quickly, or if your vehicle develops a problem.
Find your hazard lights by looking for a dashboard button featuring a triangle inside another triangle. We all know that red equals WOAH, STOP, DANGER, THINK ABOUT YOUR ACTIONS or something of the sort, so the colour will be incorporated one way or another (either the background will be crimson, or the triangles themselves will be). One press for on; another to turn them off again.
Horn

The horn is one of the lesser-used methods of communication available to drivers (or, at least, it should be). There is only one reason drivers should honk their horns—and that’s to let other road users know of an immediate risk of danger.
The horn is usually situated within the steering wheel and is activated through firm pressure. It’s one of those things we assume we know how to do—but make sure you’ve had a go before your test so you’re comfortable with exactly where, and how hard, to press.
Lights
There are loads of (well, four) different lights available to drivers to improve their vision: sidelights, dipped headlights, full beams and fog lights. You must be able to judge which type, if any, is suitable for the driving conditions you face.
Here’s a rough guide to which light should be used when:
– Dull weather: sidelights
– Hours of darkness (half an hour after sunset to half and hour after sunrise): headlights
– Travelling in the dark through an unlit section of road where you will not be inconveniencing other road users: full beam headlights
– Very poor visibility due to fog: fog lights
In some vehicles, twisting the end of one of your indicator stalks will illuminate the car’s sidelights or headlights. Full beams may require you to push the stalk away from you.
In others, there may be a dial with your various light options.
Fog lights are sometimes found on a separate button; you won’t need to use them very often, but learn to locate them so that you’re never caught short in a pea souper… or by your driving examiner. Both of which can be downright scary.
Windscreen wipers

Many modern vehicles are smart enough to detect precipitation, but you still need to know how to turn your windscreen wipers on manually. Light drizzle, torrential rain and swirling snow all need clearing from your windscreen—as do dirt and debris, so that you have an unobstructed view of the road ahead.
Sometimes wiping the screen isn’t enough on its own, and you’ll have to bring out the big guns: screenwash (or in winter, screenwash containing antifreeze).
You’ll usually find your windscreen wipers on one of the stalks to the side of your steering wheel—most likely the opposite side to your indicators. There are various speed settings, depending on how heavy the rain is and how often you need to clear the glass; flicking the stalk upwards will make your wipers oscillate more frequently. If you have a back windscreen wiper, you’ll probably be able to turn it on by a slightly different technique, such as pushing the control stalk, or twisting the end of it.
Pro tip: You can even fine-tune the timing on each setting to achieve the perfect rhythm, by adjusting the small dial on top of the stalk.
Push and pull functions will usually eject screenwash onto your back and front windscreens respectively. After spraying the fluid, your wipers should automatically swish back and forth to give the glass a good clean.
Press the stalk down in order to wipe the windows just once, for instance, if you need to clear spray from another vehicle.
Demisters
During cooler weather, your inside windows are prone to misting up. They need to be fully cleared before you undertake any journey. Thankfully, most cars boast a heated rear windscreen; just find the right button and it will demist all of its own accord.
The demister button will usually be somewhere on your dashboard, and feature a shape with three upward arrows to indicate heat. One press for on; another to turn it off. Simple!
Demisting your front windscreen
If your vehicle also has a heated front windscreen, you will usually find its ‘on’ switch near to the rear windscreen button. Otherwise, you’ll need to use your heat settings to demist it.
Start by blowing fairly cool air, with the vents directed at the windscreen, before gradually increasing the temperature. This will demist the glass faster than going all out on the heat straightaway.
If your car benefits from air conditioning, this will help keep the air dry inside your car. Stick it on at the same time as the heater to demist your windscreen more quickly. Alternatively, opening your windows will have a similar effect.
Heating and air conditioning

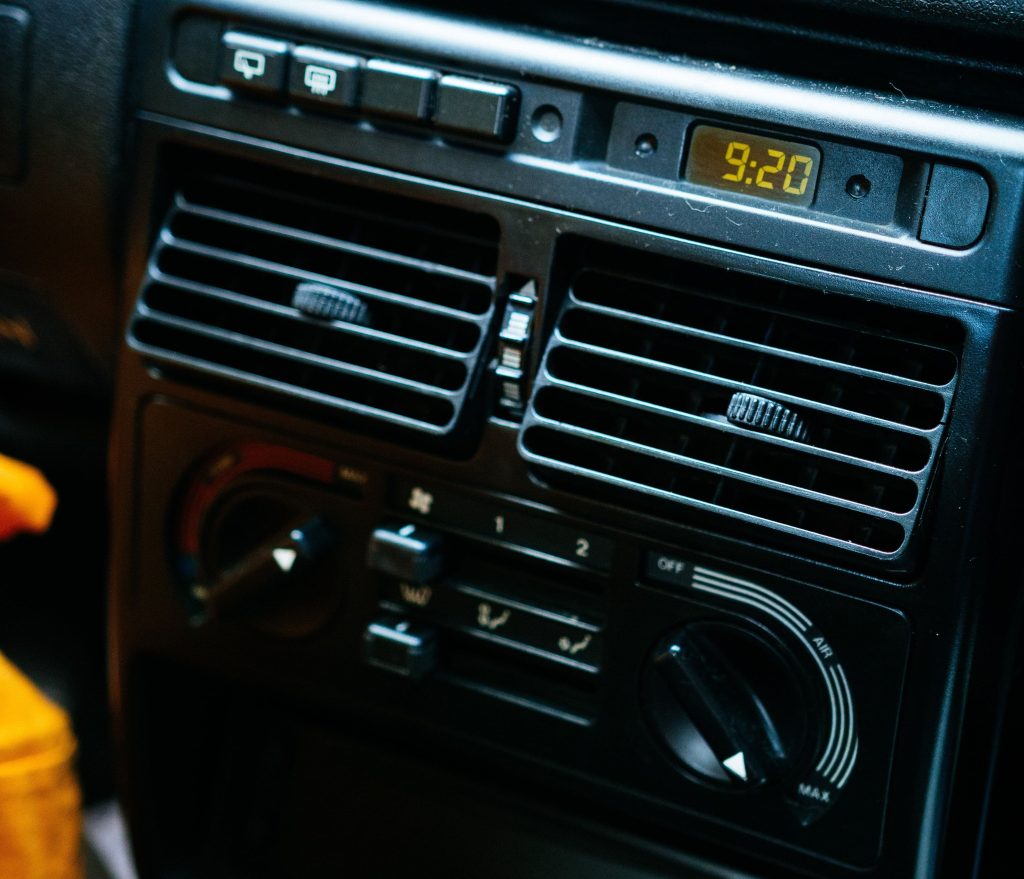
Not only can the internal ventilation and temperature controls assist in demisting your windows (see above), they can also help you stay alert and comfortable.
You can choose which vents your heat or air con comes out of. Set the dial in between two symbols to take advantage of more options, and manually open, close or redirect vents as required. You can also decide how forcefully the air blows out, using the numbers (likely on a dial or button next to the temperature gauge).
It’s usually sensible to keep a constant supply of fresh outside air filtering into the car. But if you come across a particularly polluted patch, you may choose to circulate the air already inside the vehicle. You’ll find the buttons for these options beneath or very close to your heating settings.
Most modern cars also feature air con. If your car has it, it’ll be activated by pressing the button marked ‘AC’.
Handbrake
Your foot brake isn’t the only means of keeping your vehicle stationary. For longer periods of time, such as when you are stopped at traffic lights, your handbrake is perfect for giving your feet a rest (pop the gear stick into neutral so you don’t stall), and keeping your vehicle still without wearing out your clutch, or blinding the person behind with your brake lights.
The handbrake is also effective at helping you achieve the perfect hill start, because your feet are free to balance the clutch and accelerator.
In older vehicles, the handbrake is a lever, situated to the left-hand side of the driver. Press the button in (it’s right on the top) and pull the lever upwards to activate the brake. Make sure it’s pulled up far enough to hold the vehicle, but not so far that it’s over-stretched, which can result in it loosening over time.
To release, simply push in the button at the top of the lever again, and push it all the way down. Driving with the handbrake partially engaged is possible, but it’ll damage your vehicle—so look out for a red exclamation mark within a triangle lit up on your dashboard, which tells you it’s not fully released.
Some newer vehicles feature a handbrake button rather than a lever.
FAQs
1. Are there other ancillary controls?
We’ve covered most of the ancillary controls you’ll need to know for your practical, but of course there are a few others. Make sure you know how to:
– Adjust your mirrors
– Open and close your windows
– Interpret the warning symbols on your dashboard
Some vehicles have more bells and whistles you’ll need to learn: luxuries like heated seats or climate control. These are unlikely to be tested by your driving examiner, but it’s important to get to grips with them for your own safety and comfort. Take a look through the vehicle handbook if there are any buttons, dials or settings you don’t recognise.
2. How can I operate my car ancillary controls safely?
Changing any of your ancillary controls requires you to take a hand off the steering wheel, and glance away from the road ahead. They are positioned so as to be in easy reaching distance and operated as safely as possible, but there are still some things you can do to decrease any risk:
– Wait until hazards have passed before operating any secondary car controls.
– Adjust the driving seat and steering wheel into the optimal position.
